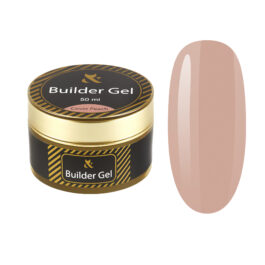
It bonds perfectly to the natural nail, creating a flawless C-curve with excellent durability. Whether for extensions or strengthening, it maintains the nail’s structure and is ideal for various techniques.
1. Apply F.O.X Nail Prep to the buffed nail.
2. Apply F.O.X Ultrabond – an acid-free primer for extra adhesion.
3. Apply a layer of any elastic base (e.g., F.O.X Power Base or F.O.X Rubber Base) with rubbing movements.
4. Cure in a 36W UV lamp for 1 minute or a 36/48W LED/UV lamp for 30 seconds.
5. Select the appropriate Dual Form size for each nail.
6. Fill the Dual Form with F.O.X Hard gel, ensuring an even layer.
7. Gently press the Dual Form onto the nail, removing any excess gel around the edges.
8. Cure in a 36W UV lamp for 2-3 minutes or a 36/48W LED/UV lamp for 2-4 minutes.
9. Carefully remove the Dual Form, leaving the hardened gel structure on the nail.
10. File and shape the nail as needed.
Strengthening Nails:
To strengthen natural nails, apply the F.O.X Hard gel in two layers:
- Apply a thin first layer, working it into the surface of the nail.
Cure in a 36W UV lamp for 1 minute or a 36/48W LED/UV lamp for 30 seconds. - Apply a second layer as a leveling layer to create a smooth surface.
Cure in a 36W UV lamp for 2-3 minutes or a 36/48W LED/UV lamp for 2-4 minutes.
Extensions Using Paper Forms:
- Fit the paper form securely under the free edge of the nail.
- Apply a thin layer of the F.O.X Hard gel to the natural nail and extend it onto the paper form to create a base for the desired length and shape.
- Cure in a 36W UV lamp for 2-3 minutes or a 36/48W LED/UV lamp for 2-4 minutes.
- Build the nail architecture with additional layers of Hard gel as needed, curing each layer for 2-3 minutes in a UV lamp or 2-4 minutes in a LED/UV lamp.
- Could you remove the paper form and file the nail to the desired shape?
12. The nail is now ready to be covered with gel polish or top coat.
Removal: File off the gel using a hand file or a nail drill.